Hi everyone!
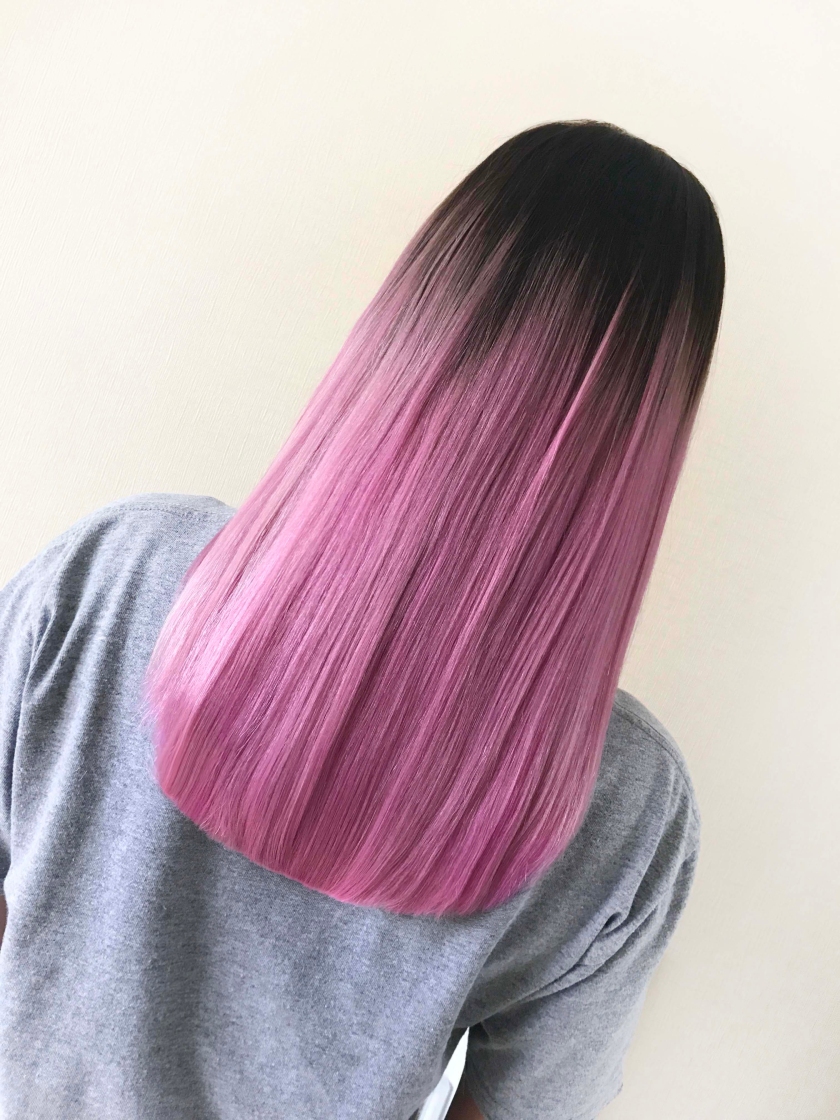
Iv’e got a bit of a different post for you today… As most of you who follow me will know, I’m forever changing my hair colour and I have a huge love for those bright shades. I have recently gone through a bold hair transformation which I really wanted to share with you all. I often receive many messages about my hair colour, how I keep it up and what products I use etc. So I thought I’d talk you through a step-by-step guide of how I went from my previous dark ash grey to a gorgeous baby pink.
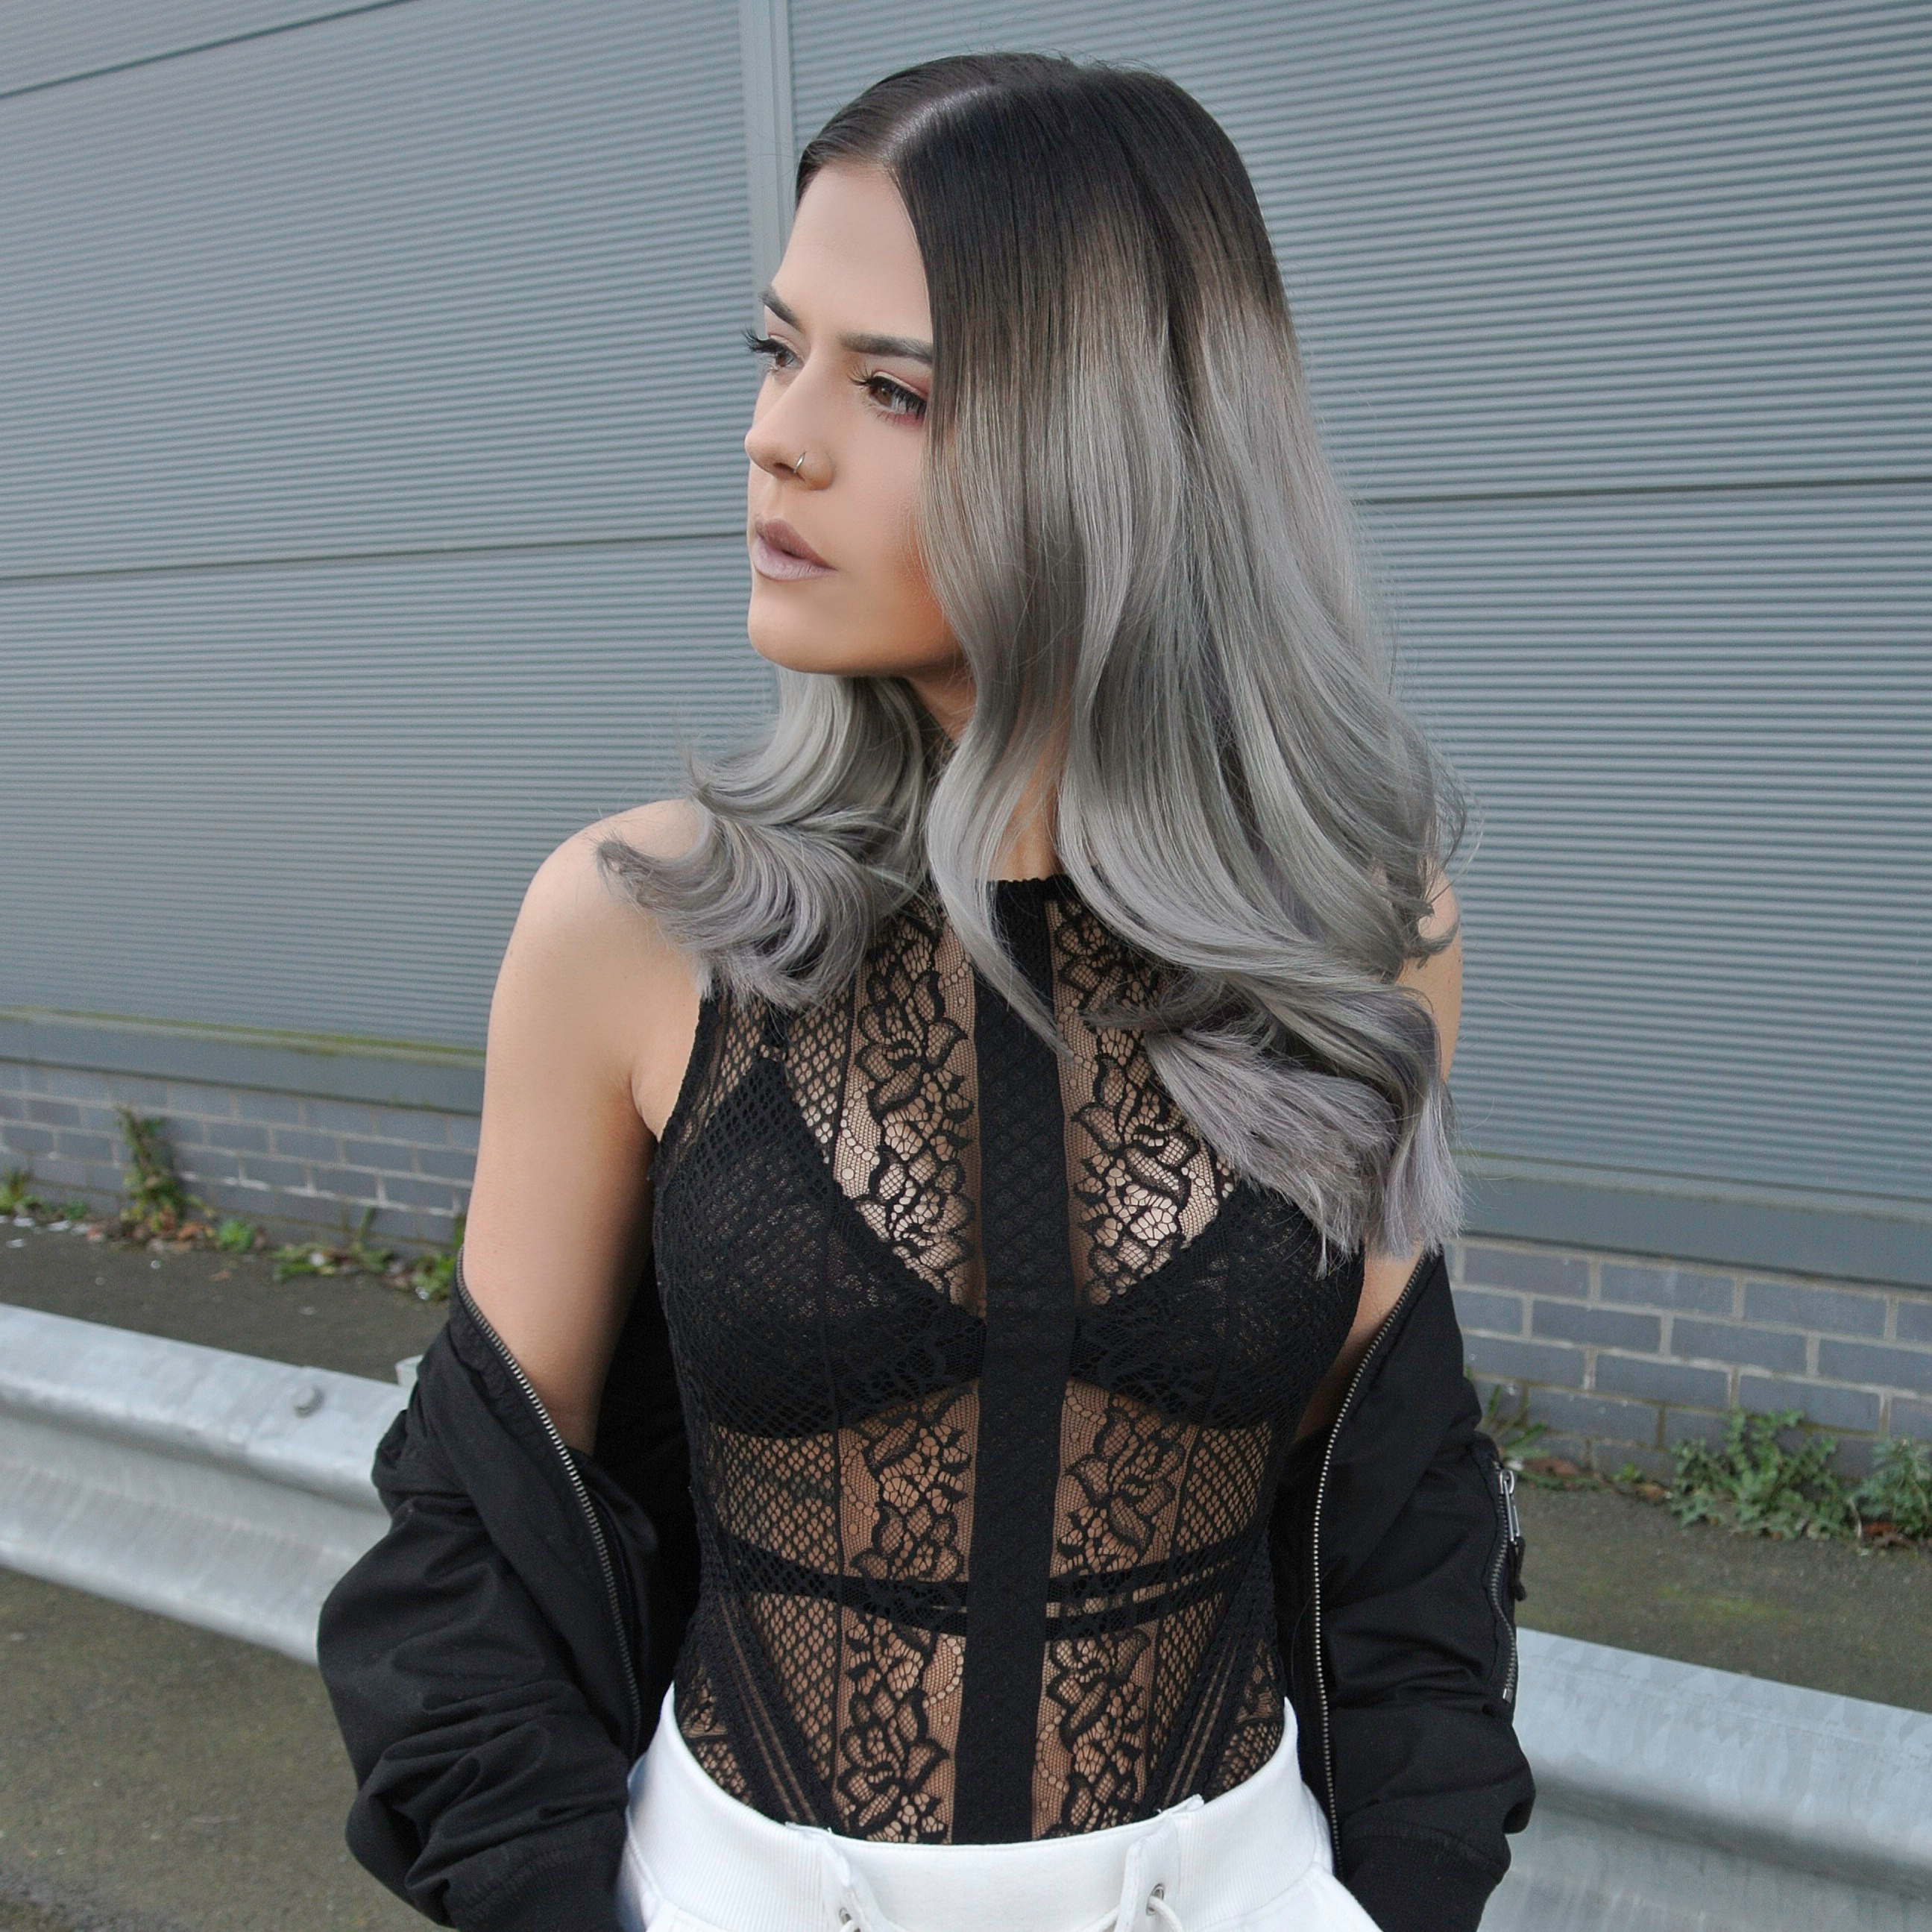
Iv’e been thinking about changing my hair colour for a while now but I was unsure of what shade to go. Iv’e been lilac, copper, red, grey and burgundy, so deciding on a new colour is always tricky and I’m quite limited to colours that are left 😂
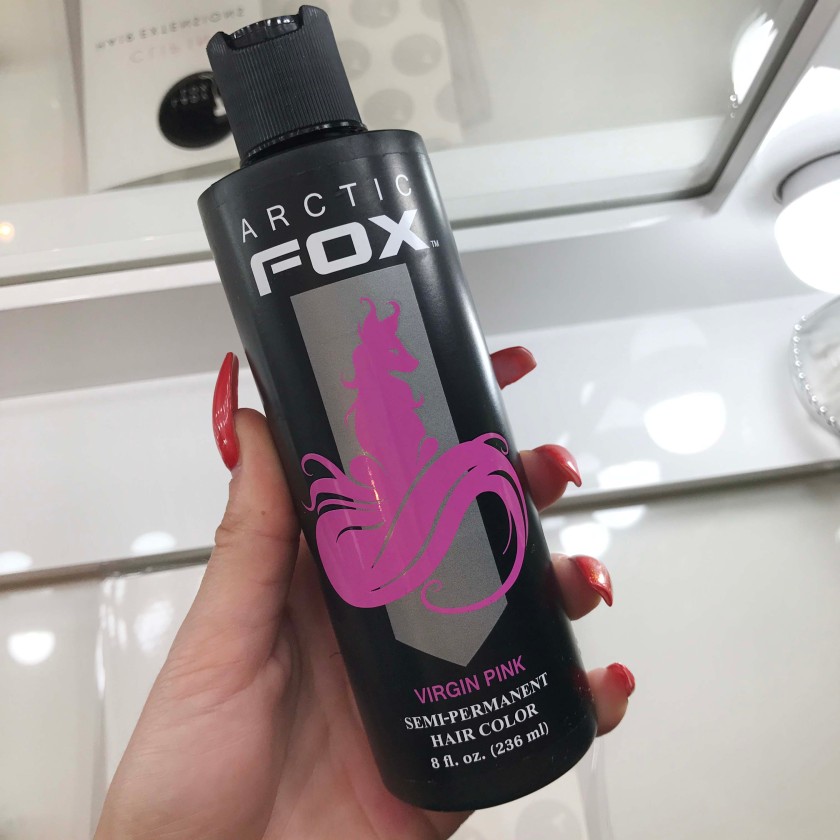
I was recently contacted by the hair colour brand Arctic Fox. I have been a massive fan and follower of these for such a long time now, so was over the moon when they wanted to work with me and send me out a selection of their hair products. They are well known for their bold long lasting semi- permanent colours – available in almost every colour of the rainbow. I selected a few colours from different purple shades to this striking pink shade called ‘Virgin Pink’. I’ve always wanted to try out a pink shade but have never been quite daring enough, but with Ibiza around the corner I thought why not!
Hair Dye
Website: www.arcticfoxhaircolor.com
Instagram: @arcticfoxhaircolor
The thing with me is I can’t live without my extensions – I’m an absolute nightmare! My own hair is quite long, and it’s not even that fine, but Iv’e been wearing them for years and it’s just become a comfort thing that I can’t live without. I only add a couple of rows to my hair as it just adds that slight thickness that my natural hair seems to lack. People think that hair extensions are high maintenance and expensive but if you look after them properly they really aren’t. I usually pay just over £100 for a full head of extensions. I treat these the same as my regular hair and condition them well. I still apply heat from blow drys and hair irons etc. If you look after your hair well, make sure to brush in-between the hair extension rows everyday and keep them knot free then they last so so well. I usually have my hair extensions tightened up every 6 weeks to keep them tight and stop them from slipping too far down my natural hair. Every so often I take them out and have them re-fitted to keep them fresh. I can get around 8 months out of a set of extensions, which I think is really good.
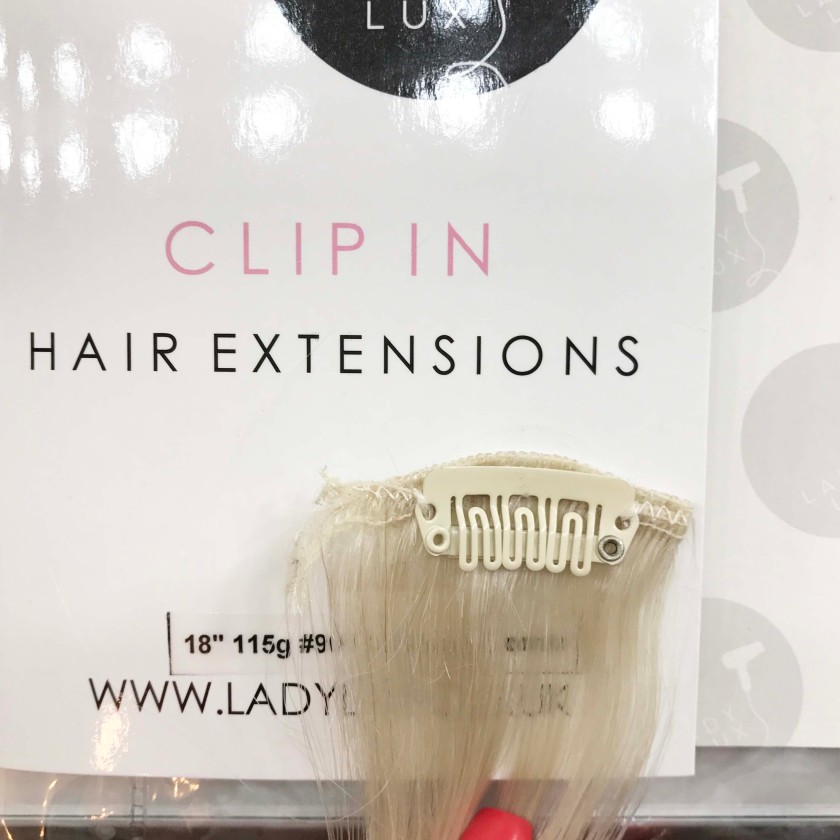
I often vary the hair extension brands I use as some don’t always stock the crazy shades I often seem to select. I recently collaborated with hair extension brand Ladylux. I used one of their clip in pony tails in a grey shade. Their products were fantastic and I was ecstatic when they wanted to work with me on my latest colour adventure. As I has selected a new pink shade I would have to dye my extensions to my selected tone as most brands don’t stock these sort of shades.
Hair Extensions
Instagram @ladyluxhairx
Website: www.ladylux.co.uk
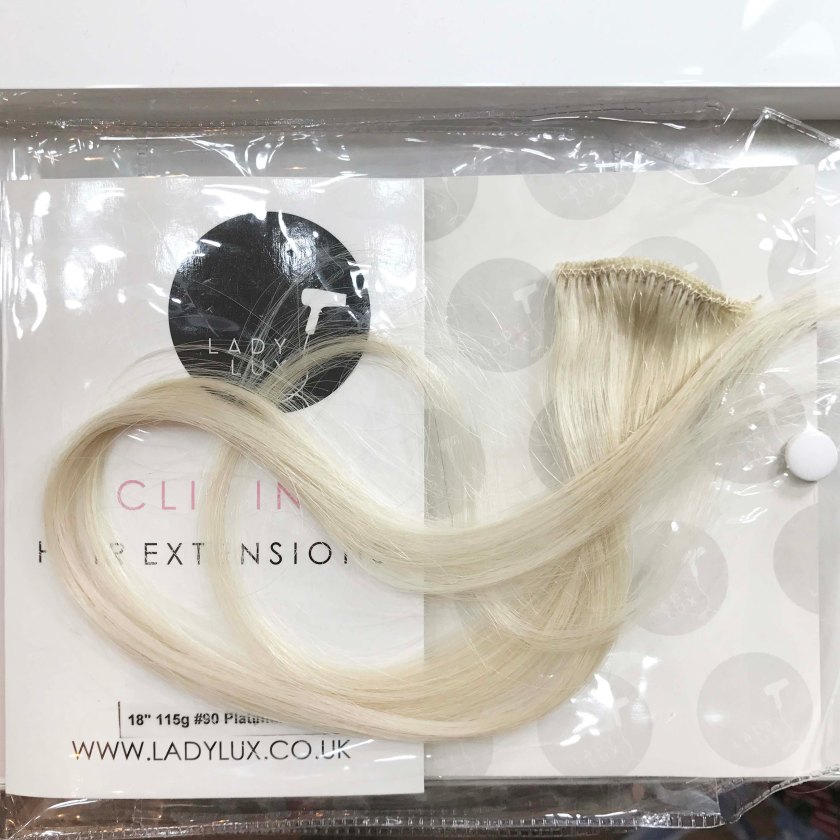
When dying your extensions a bold shade such as pink they need to be the lightest colour possible – exactly the same way your natural hair would need to be before applying this sort of colour. The less yellowy tones in the hair the better. Of course human hair extensions are a MUST, as synthetic hair extensions can’t be dyed, so make sure you look out for this when buying your extensions as some cheaper hair can be mixed with synthetic. I selected the colour platinum blonde, which is the cleanest, lightest blonde you can get; also making sure my natural hair is the same clean tone.
As I was previously a grey colour this look was created by a toner on bleached white hair – so without upkeep will easily fade and can be rinsed out with in around 10 washes. After fading out my grey back to a natural blonde colour I decided to keep my dark root look as I am so into this look at the moment and love the dark shade around my face. My hairdresser gave me a quick bleach shampoo to lift out any remaining grey tones and freshen up my blonde, creating a nice light base to apply my pink. I never put bleach on my own hair, unless you are a professional I would always recommend letting a qualified hair stylist complete this stage for you.


As bold colours can sometimes be hard to match up when mixing the colour yourself, I always dye my extensions first to check the colour is the correct tone and look I am after before of course dying my own hair. This is the safest way to stop any mistakes and make sure you are happy with your selected colour. The Arctic Fox Virgin pink is naturally a very bold pigmented colour and is almost a fuschia neon pink when placed on the hair. You can buy pastel shades already mixed but I do feel the darker shades diluted stick really well to your hair and are much more effective. I really didn’t want to go as bold and decided on more of a subtle bank pink shade. There are a couple of really good ways to dilute col.our:
1. Arctic Fox sell a colour diluter called Diluter Mist, which is absolutely amazing and perfect for creating slightly lighter tones. This is the option I opted for.
2. You can also use Sulphate free conditioner to mix with a small amount of colour to create your desired shade. This conditioner can be bought from any hair and beauty retailers or some salons. Some conditioners contains sulphate which strips colour and also makes it not grab as well to your hair so always remember to check this.
Above you can see the ratio of how much diluter I used to the small amount of colour I mixed in. Start by adding a tiny bit at a time until you achieve the correct shade. Make sure you take a photo or remember the exact shade, as you want this to be consistent so your natural hair and extensions always match up.
When I received my desired colour as shown above I was ready to get started!
At first I always make sure I do a colour test on my extensions to make sure I am happy with my colour before dying the whole lot, another helpful tip. I usually leave the colour on for around 30 minutes before washing off. Depending on the type of extensions you use they all have different amount of protective sealants on them – some harder to break through than others, so don’t be disheartened if the colour doesn’t take fully first time. Sometimes there is still little blonde pieces or lighter patches that show through, this is normal. Also synthetic hair CAN’T be dyed so another reason why it’s totally off limits.
With these extension I applied a full colour twice for perfect even coverage.
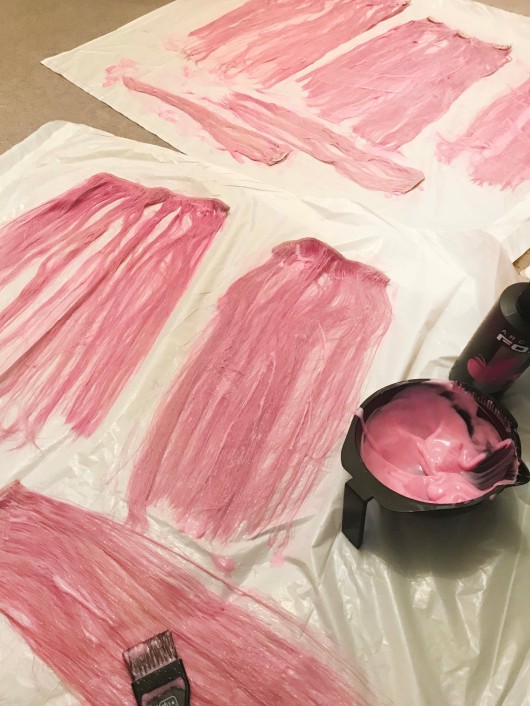
As you can see I always make sure I apply a thick even coat of colour over the extensions. Mix plenty of colour beforehand. These fashion colours can be mixed and left for a long period of time as they don’t have a developing time period. I feel you get the best coverage by lying the hair flat on a plastic bag or paper, as this way the dye hits and covers more of the hair.
After 15 minutes I flip the hair and apply to the opposite side to make sure all the hair is fully emerged in the dye.
I leave the hair dye for around 30 minute in total before washing off and applying a sulphate free conditioner to the hair – this also helps to hold the colour in after washes.
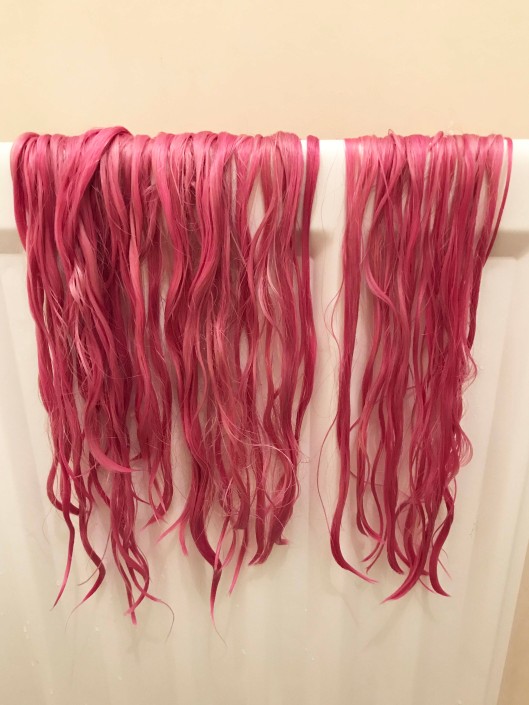
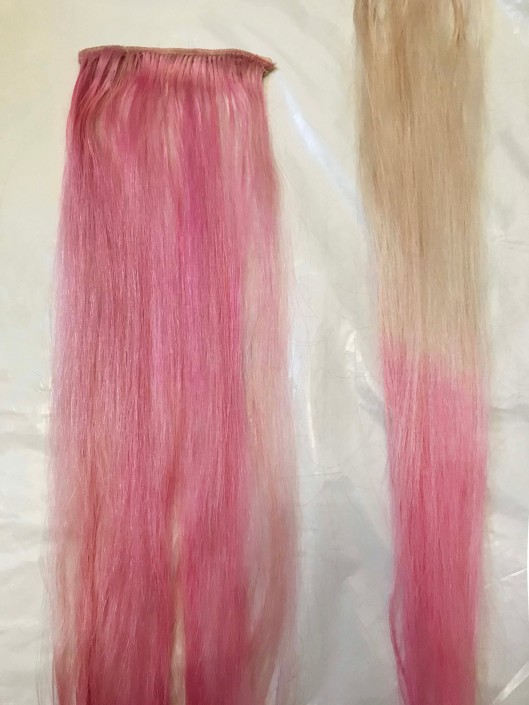
This is my completed extensions when wet after the dying process. They always look a little bit of a darker shade when wet but don’t worry they lighting up when dry. As you can see the colour is really even and all of the extensions are fully covered.

ALL DRY!!
Hair dyed and styled by the amazing @adele_snape at The Colour Room.
Bond weft extensions fitted and styled by the talented @christieatweavesandwaves
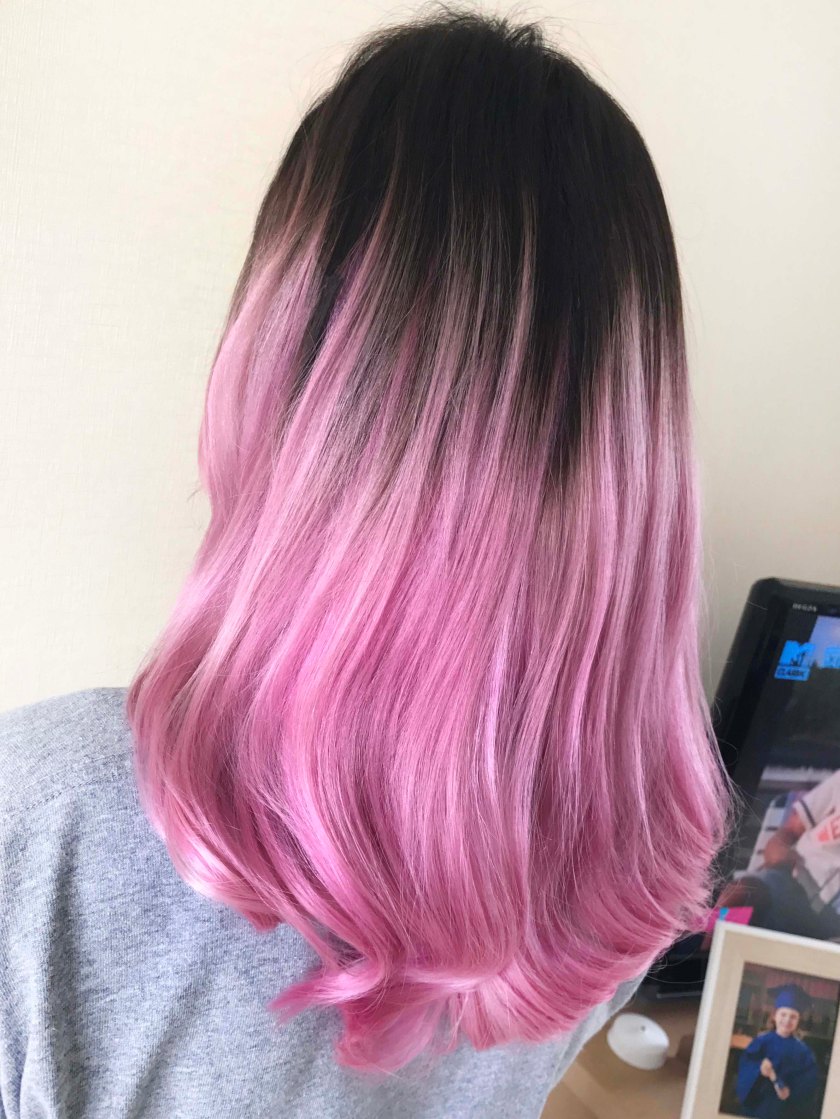
Finished look 💕